Crispy on the outside and fluffy on the inside. Waffles are a culinary masterpiece that has captured people’s hearts and taste buds worldwide.
The mere mention of waffles conjures up images of lazy Sunday mornings, bustling brunch cafes, and the comforting aroma of batter sizzling on the iron.
But beyond the mouth-watering appearance and tantalizing aroma, waffle making is an art that combines science and creativity.
A waffle maker can be a great way to help us satisfy our cravings and save money!
But how to use a waffle maker? It’s simple. This guide will teach you how to make a waffle in 7 quick steps.
So, put on your apron, turn on the waffle iron, and prepare for an adventure. It mixes tradition, flavor, and technology, all in the name of making the perfect waffle.
How to Use a Waffle Maker?
Step 1: Make the batter
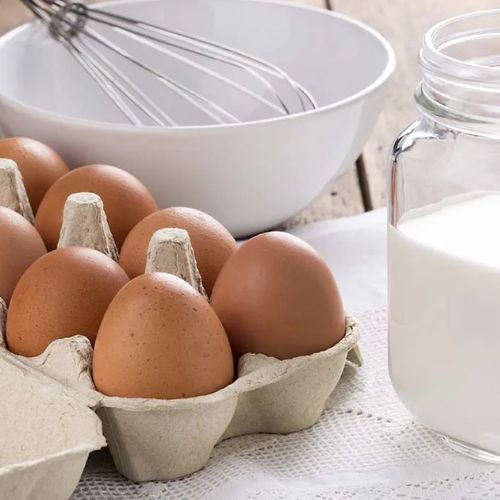
As you may have guessed, the first step is to make the waffle batter. Would you be surprised if I told you that making a batch takes five minutes? Plus, you already have all the ingredients you need.
Ingredients:
To make the batter:
● 2 cups all-purpose flour
● Two tablespoons of white sugar
● Four teaspoons baking powder
● one teaspoon salt (for flavor)
● two egg
● 1 ½ cups milk, lukewarm
● ⅓ cup butter, melted
● One teaspoon vanilla extract
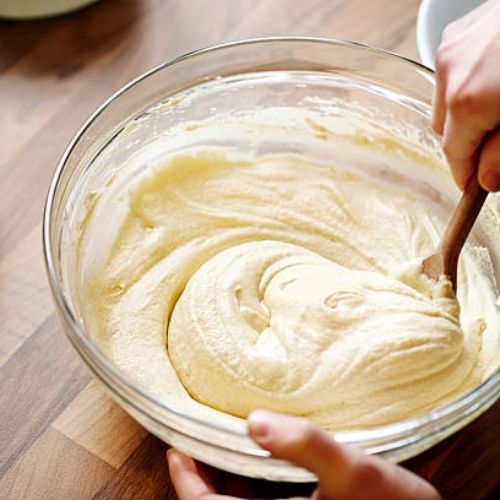
- Put all of the dry ingredients into one big basin.
- In another bowl, whisk eggs and add wet ingredients.
- Slowly incorporate the liquid into the dry ingredients. Remove any lumps by thoroughly mixing.
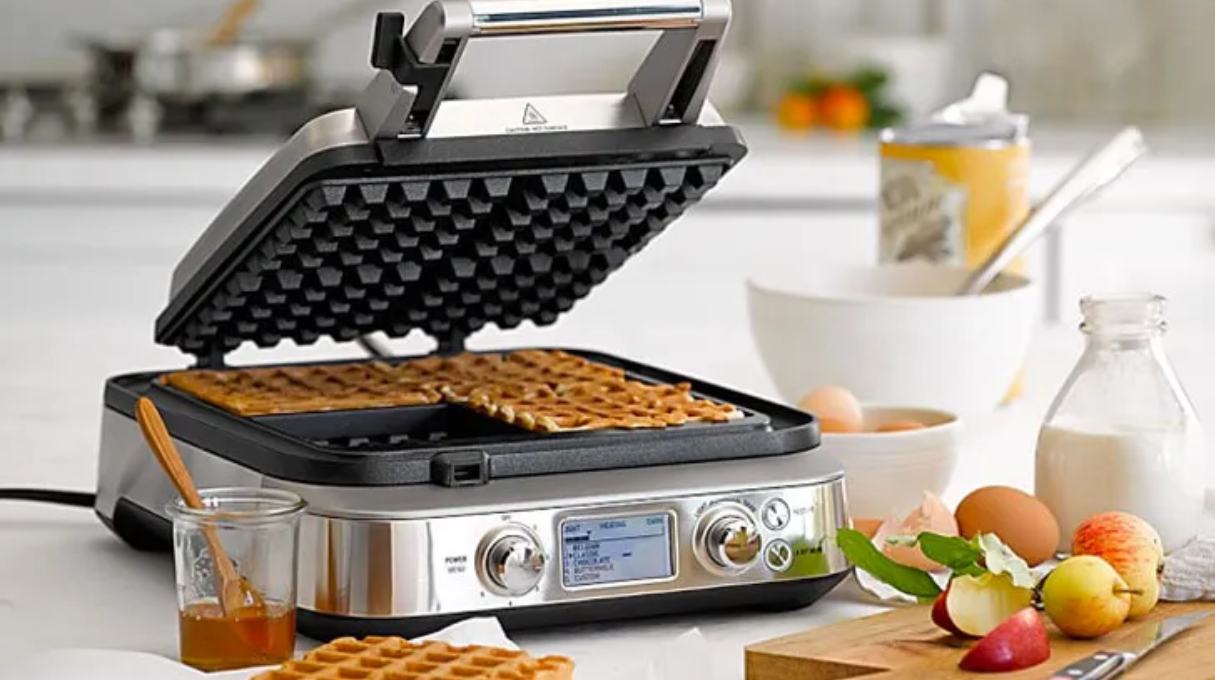
Step 2: Preheat Waffle Maker
When you’re ready to prepare the batter, plug in your waffle maker and let it preheat.
Most waffle makers come with an indicator light. It’s usually green and lights up when the waffle plates are hot enough and ready to cook. It is a handy feature because you will always know when to move on to the next step.
If you are using an older waffle iron model that does not have an indicator light, check to see if steam is coming out. When finished, the waffle maker is preheated and ready to use.
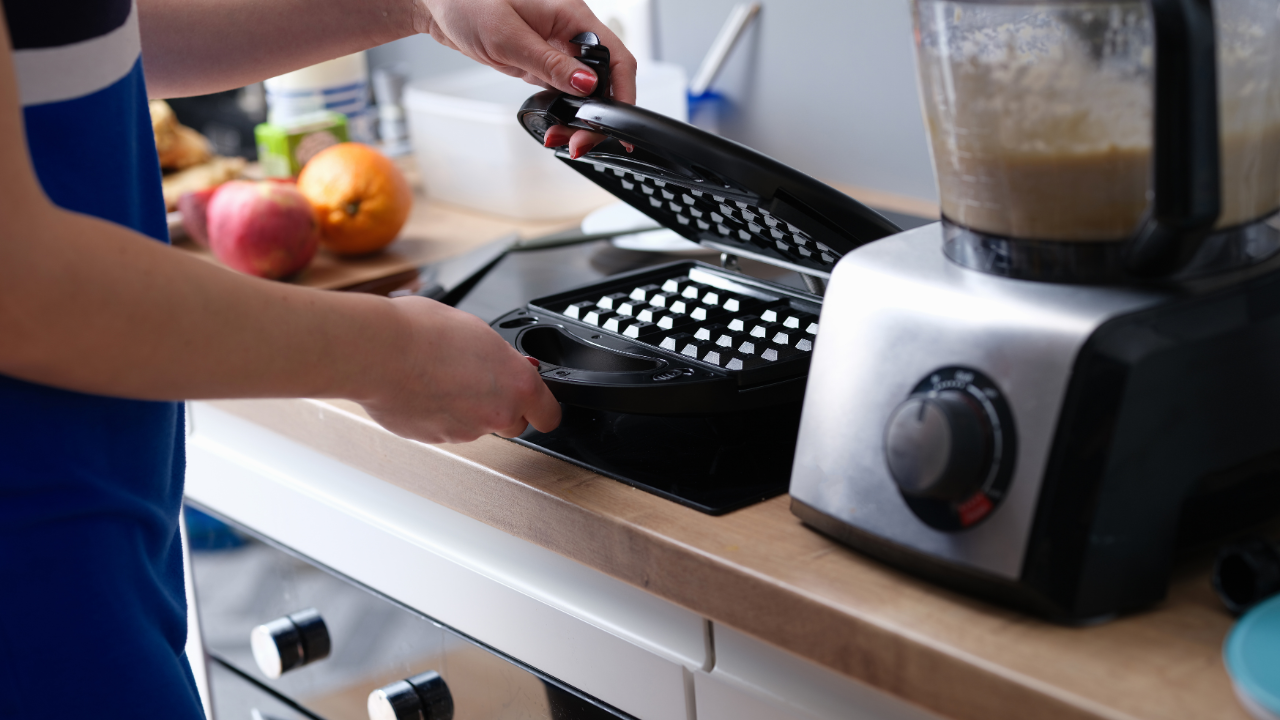
Step 3: Grease the Waffle Iron
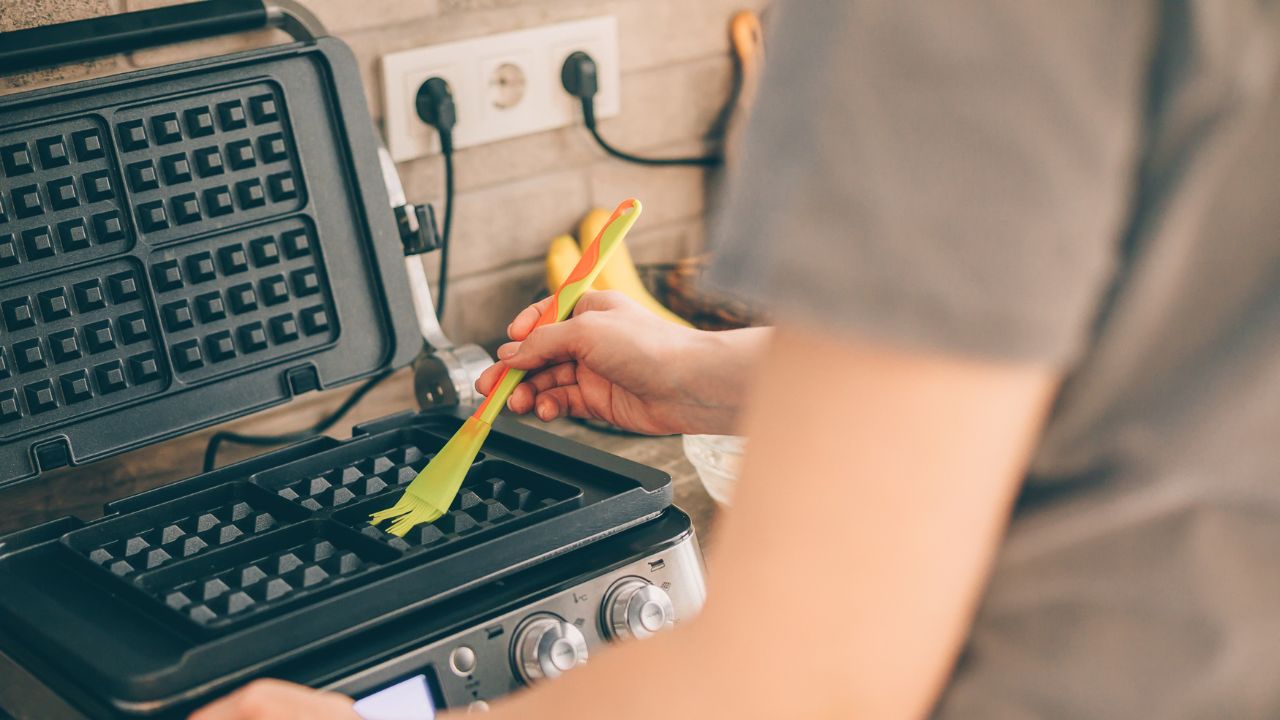
You don’t have to grease the plates of your waffle maker, but it will help the waffles slide off more easily once they are cooked. You can spray some cooking oil or carefully drizzle vegetable oil on the plates.
You can bypass this step if your waffle maker has a nonstick plate. Just make sure the plate’s nonstick coating is still intact.
Or, if you’re watching your fat intake, you can refrain from using cooking spray on the plates. While a few drops of oil won’t make much of an impact, you can skip this step and take more time to clean the dish thoroughly.
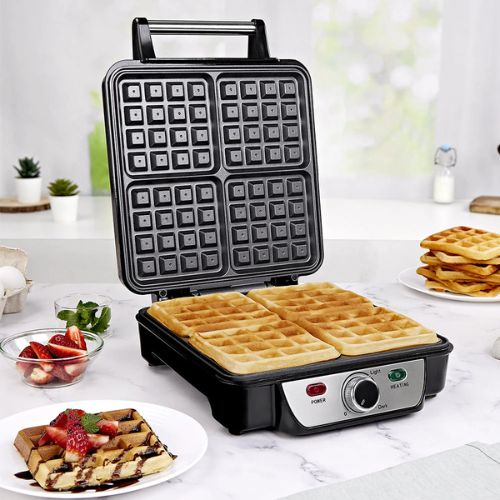
Step 4: Pour the batter, but don’t overpour it.

Now, pour the batter on the plates that have already been cooked. About 3/4 cup of batter should be used per waffle. It will make your waffles tall, soft, and fluffy.
Of course, every waffle maker is different, so you may need to make some adjustments here. However, 3/4 cup is usually the optimal amount to keep your waffle iron from overfilling. Otherwise, the batter will spill out the sides once you close the lid.
Step 5: Close the Waffle Iron Lid and Set the Timer
After pouring in the batter, close the lid, fasten the clasp (if your waffle maker is equipped with one), and wait.
Waffles usually take four to six minutes to cook completely. If you like your waffles light golden brown, turn off your waffle maker at the four-minute mark. If you like them golden brown, six minutes is fine.
Only some waffle makers come with a built-in timer. If you don’t have one, it’s best to set a kitchen timer or use it on your phone to keep up with the cooking process. You want to avoid ending up with undercooked or burnt waffles, right?
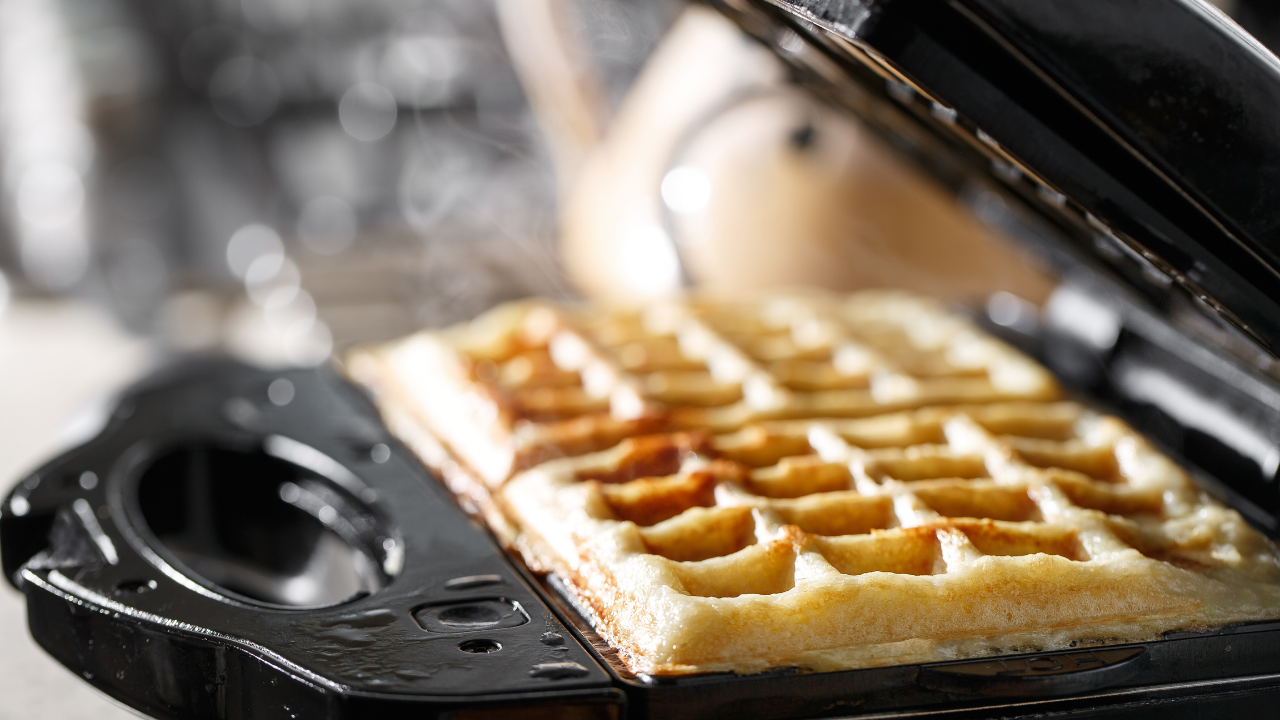
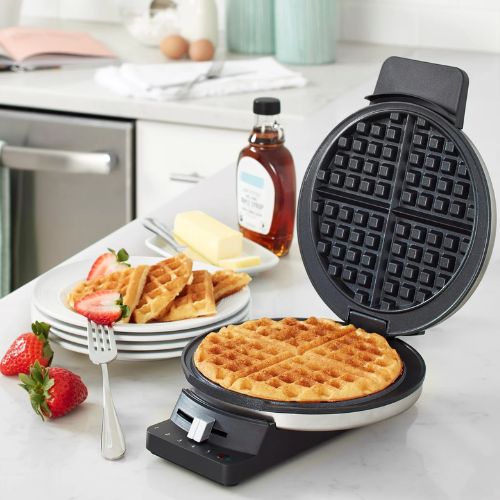
Step 6: Plate and enjoy!

Finally, we get to the last step: removing the waffles from the waffle maker and enjoying them!
The waffles should detach easily from the waffle plate. But if they don’t, wait a few moments for them to cool down, and then use utensils to loosen them.
It’s best to use silicone, plastic, or rubber utensils. Unlike metal utensils, they won’t scratch your waffle maker. It is especially important to use a waffle maker with a nonstick coating.
Step 7: Cleaning
Once the waffle maker has cooled completely, please quickly clean it. Some grill plates can be removed, making them easy to clean. The grill plates are fixed on some types, so you have to use water and soap to clean them well.
Ensure your waffle maker is completely dry before closing the lid and storing it.
Waffle Maker Tips and Tricks
● Read the instruction manual. Reading the instruction manual to make waffles with your specific waffle iron is important. Each waffle maker may have characteristics that require you to adjust how you use it. If you want perfect waffles, read the instructions!
● Keep an eye on the steam. If your waffle maker doesn’t have an instant indicator, watching the steam can help determine when your waffles are ready. Try waiting until the steam stops and then removing the waffle. When the steam stops, the waffle is done.
● Do not check your waffle. Wait for the machine’s indicator light to signal or the steam to stop. If you check your waffle before it is done, you risk tearing it when you turn on the machine! Wait until the waffles are cooked before turning on the waffle maker.
● Watch out for waffle stickiness. If the waffles stick to the waffle maker, add more nonstick spray or butter the next time you use the machine. Or, add more butter or vegetable oil to the batter recipe. Feel free to adjust as you see fit. You also have the option of a nonstick waffle maker!
● Keep the waffles warm. If you are feeding a family, make several waffles. Keep the finished waffles from getting cold while you make more waffles! Set the oven temperature to about 200° F and place the finished waffles in it to keep them warm. They’ll be crispier by the time you finish the others.
● Clean the waffle maker as soon as it cools. Don’t let it sit! A quick cleaning of the waffle maker will make removing any batter stuck to the inside easier. If it sits too long, it will be harder to scrape out the batter. Try cleaning your waffle maker while it still feels a little warm.
● Please do not put it in the dishwasher. Never put your waffle maker in the dishwasher – it is a machine and should not be exposed to water. If the waffle iron claims to be dishwasher safe, you can remove the metal plate and put it in the dishwasher. Be sure to check your owner’s manual to make sure you can machine wash the plates.
5 Tips for Waffle Maker Maintenance
A good waffle maker that you know how to use and trust is a great cooking tool. With a few tips, you can keep it working well and looking like it just came out of the box.
● Be sure to refer to the instruction manual or the manufacturer’s Web site for cleaning tips specific to your waffle maker.
● A nonstick waffle maker only needs a thin coat of cooking oil before it is used for the first time that day (not before each waffle is made). Using cooking oil from a refillable spray bottle like Misto or a pastry brush is best. Aerosol sprays for cooking can leave a sticky film on surfaces that don’t stick.
● Never immerse the electric waffle maker in water.
● Do not use sharp or metal tools to remove cooked waffles or scrape off lumps of batter. It may scratch the surface and cause future problems with stuck waffles.
● If the waffles begin to stick, grease the grid with the proper amount of oil. The butter in the batter will also play a big part. The more butter in the recipe, the less likely the waffles will stick together.
Recipes You Can Try
Brownies
Prepare the batter you want and pour it into a greased waffle maker. Cover and cook the batter until there is no more steam. If you want a crispier texture, let the batter sit in the waffle maker for a few more seconds.
● If you have a large amount of batter, place a baking sheet or paper underneath the waffle maker to catch any overflow. It will make cleanup easier.
● Once cooled, top the waffle with your favorite chocolate cream or ice cream to make it taste great!
Cookies
Prepare your favorite cookie dough and refrigerate for 30 minutes. Then, place a scoop of cookie dough on each part of the waffle maker and cook the cookies for 4-5 minutes.
● Of course, you can also use this method to make cinnamon rolls. They only take 2-4 minutes.
Omelet
Mix two eggs with two tablespoons (30 ml) of milk. The waffle maker should then be filled with the batter. Immediately turn off the waffle maker until the egg rolls are ready.
● If you want a more delicious egg roll, add your favorite food, such as onions, peppers, mushrooms, etc.
Potato pancakes
Use a food processor or a ricer to chop the potatoes. Then, add them to a waffle maker that has melted butter. Cover and wait for 15 minutes.
● Again, you can choose a favorite food, such as sweet potatoes or yams.
Sandwiches
Prepare the usual sandwich batter. First, lubricate the waffle maker with oil and add the sandwich batter. Cover and wait 6-10 minutes until the inside is golden and cooked.
If you want to change the shape of the sandwiches, opt for a round waffle maker.
After making the crust:
● Place it on the waffle maker.
● Place your favorite ingredients on the crust in your favorite order.
● Cover a piece of crust, close the lid, and wait 3 minutes.
How is a waffle maker used? What are the steps?
Using the waffle maker can be divided into the following stages:
- Prepare the waffle batter
- Insert the waffle maker and heat it.
- Once the waffle maker is hot, pour the batter onto the bottom cooking plate and close the lid.
- Wait 5-6 minutes for freshly made waffles.
Does the type of waffle maker affect the stage of use?
No, the type of waffle maker does not affect the use stage.
You may find two waffle makers in your home kitchen: standard waffle makers and flip-top waffle makers. Standard waffle makers are the most common kind. They have a top cooking plate that is sealed above the bottom cooking plate.
In contrast, a flip waffle maker has a handle that allows you to flip the waffle 180 degrees. The advantage of this setup is that it allows the batter to settle on both cooking plates.
How is a Flip Waffle Maker different from a Standard Waffle Maker?
As mentioned above, the main advantage of a flip waffle maker is that it browns the waffles evenly so that they are always crispy on the outside and fluffy on the inside.
On the other hand, a standard waffle maker is less reliable in terms of appearance and texture. Standard waffle makers do have a couple of advantages, and those are price and storage. They are usually cheaper than flip models, and many are easier to fold and store. However, some vertical flip waffle makers are designed to occupy less space.
Conclusion
Mastering the waffle maker is a mesmerizing skill that will bring you golden brown waffles of perfection.
As the batter sizzles in the hot embrace, gently close the lid and wait for it to transform.
The air is filled with a symphony of aromas of anticipation. After a few minutes, the steam from the waffle maker diminishes, signaling readiness.
Uncover the waffle masterpiece with eager hands – the surface of the waffle is intricately etched, a testament to patience and precision.
Carefully plate it with toppings of your choice and savor each bite. Once an enigma, the waffle maker is now a gateway to culinary delights that elevate breakfast to an artistic ritual.