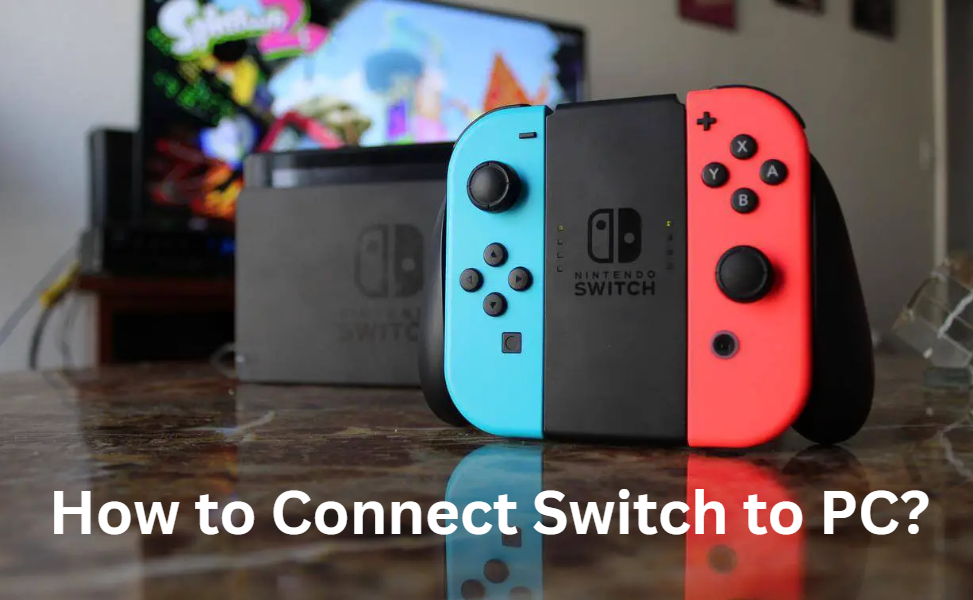
Are you eager to experience the captivating realm of Nintendo Switch games on your computer screen?
Well, you’re in for a treat!
In this article, we’ll cover some simple and effective ways to demystify how you’ll connect your Switch to your PC. This is the most comprehensive guide to this question. Don’t miss out!
How to Connect Switch to PC——2 Easy Ways
1. Connect Your Switch to a Monitor
Want to play your Nintendo Switch games on your computer’s monitor? No need to connect it to your PC. Many modern monitors have HDMI ports. Just plug your Switch dock into the monitor using an HDMI cable.
Switch the monitor’s input to the port where you plugged in the Switch Dock. If the monitor has speakers, you’ll get sound from it. If not, you might find a headphone output on the monitor for connecting speakers or headphones.
Remember, the Switch now supports Bluetooth audio with the right firmware update. You can also use the headphone output on the Switch itself when connected to a PC monitor.
2. Use a Capture Card
If you want to see your Nintendo Switch’s video and audio on your computer’s screen, you can use a USB video capture device like the Elgato HD60 S+. It’s an upgraded version of the Elgato Game Capture HD60 S.
This device helps transfer your Switch’s video and sound to your computer. If you’re also interested in recording your Switch’s gameplay, you won’t experience any delay as long as your computer meets the device’s requirements. While the capture card’s software works best on Windows computers, it’s also supported on Macs.
If you have a Playstation 4 or 5, Xbox One, or Xbox Series console, you can also connect them to this capture device. This lets you play and record your gameplay without lag. Setting up the device and switching to full-screen mode in the software might take a bit, but the results are worth it.
How to Connect Switch on PC via TV Mode
In this section, I’ll guide you through playing Switch games on your PC using the TV mode. This method lets you enjoy copyrighted Switch games on your computer.
Step 1: Gather the following items:
● A Nintendo Switch Dock
● A capture card
● Video capture software
● An HDMI cable
Step 2: Connect the cables.
● Open the back cover of the Nintendo Switch Dock.
● Connect the USB port of the Nintendo Switch AC adapter to the dock’s “AC ADAPTER” terminal. Plug the other end of the AC adapter into a wall outlet.
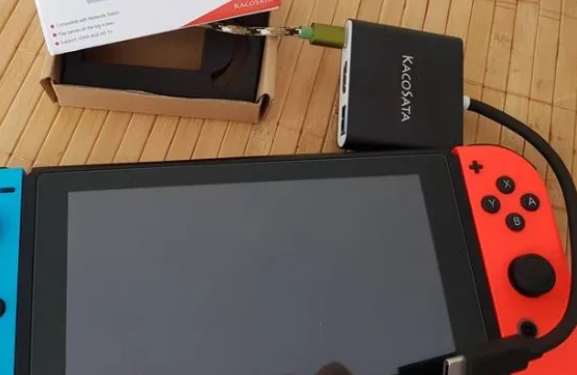
● Attach one end of the HDMI cable to the dock’s “HDMI OUT” terminal. Connect the other end to the capture card’s HDMI port.
● Close the back cover of the Nintendo Switch dock.
● Insert the capture card into a USB port on your PC.
● Detach the left and right Joy-Con controllers from the console. If not previously attached, you must register them to the console for wireless use.
● Position the console so its screen faces the same direction as the dock’s front panel. Insert the console into the dock, and its screen will turn off.
Step 3: Play the captured video using video capture software.
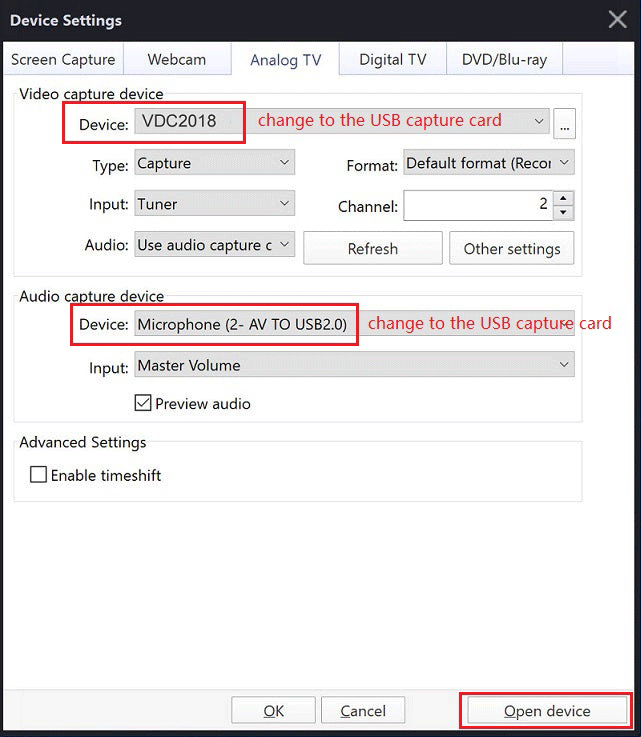
● Open PotPlayer and press Alt + D to access Device Settings.
● Navigate to the Analog TV tab and change the video capture and audio capture devices to the USB capture card.
● Click the Open device button, and PotPlayer will play the captured video on your PC.
Step 4: Enjoy Switch games on your PC.
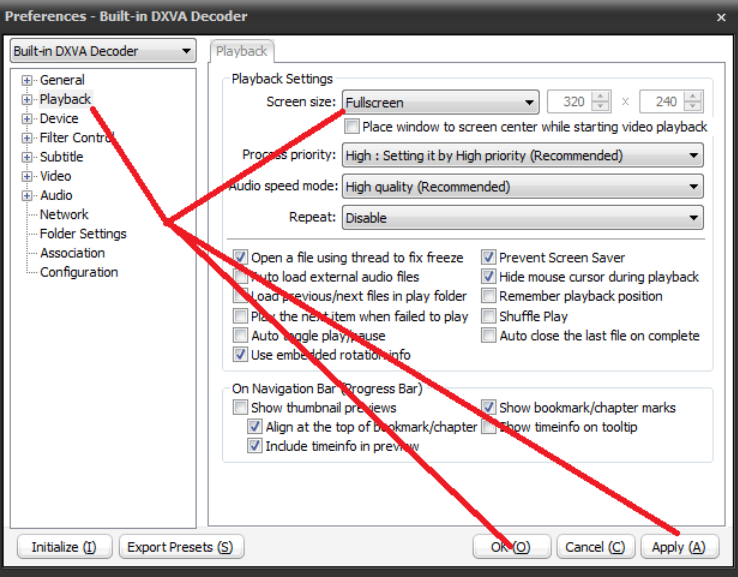
You might want to make the PotPlayer screen fullscreen. Right-click on the playback screen, go to Preferences > Playback, set the Screen size to Fullscreen, then click Apply and OK.
How to Connect Switch to PC without a Capture Card
If you’re reading this, you probably don’t have a capture card to help you do the above. So, you won’t be able to connect the switch to your PC? No, you can.
Next, we will introduce two methods for this situation.
Method 1: Xbox One Console
You can link your Nintendo Switch console to your computer through an Xbox One console.
What You’ll Need:
● Nintendo Switch Dock
● Xbox One Console
● PC or Laptop
● HDMI & Ethernet Cable
Step 1:
Connect your Nintendo Console to the Dock.
Step 2:
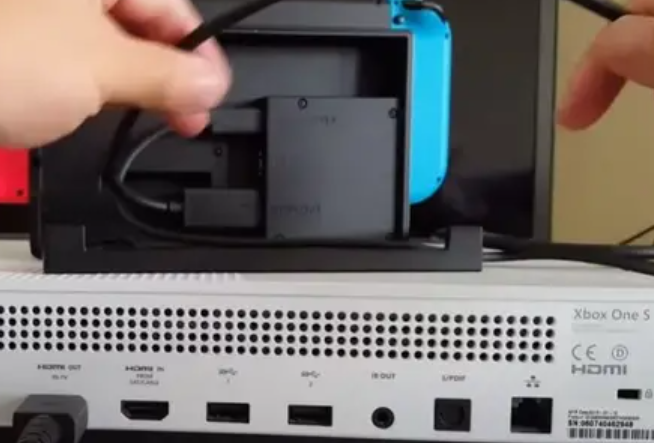
Connect your Nintendo Switch Console and Xbox One. Plug one end of an HDMI cable into the Dock and the other into the Xbox One console. Power on your Nintendo Switch console.
Step 3:
Run the OneGuide application on your Xbox One console. Connect your Xbox One to your PC or Laptop.
Step 4:
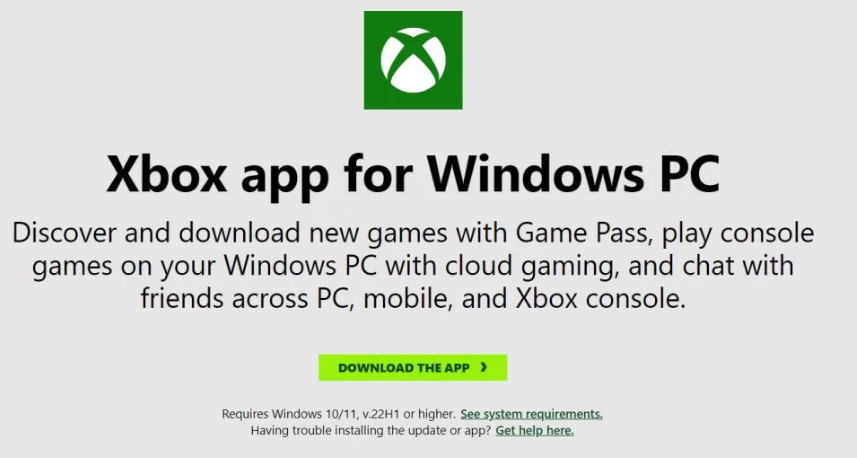
Install Xbox app software on your computer. Open the application, choose Xbox One, and your Nintendo screen will appear on your PC.
Step 5:
Use a reliable streaming application like OBS Studio, ShareX, XSplit Broadcaster, or Lightstream Studio to go live on social media platforms.”
This method allows you to play your Nintendo Switch games on your computer using your Xbox One console as an intermediary.
Method 2: Using Streamlabs for Streaming Switch Games
Have you heard of Streamlabs? It’s a popular broadcasting tool gamers use to share their gameplay online. Streaming Nintendo Switch games without needing a capture card is a great option.
What You’ll Need:
● Phone (Android or iOS)
● Mobile mount or tripod
● Streamlabs application
Step 1:
Download and install the Streamlabs application on your phone.
Step 2:
Open the app and grant it permission to access your phone’s camera and microphone.
Step 3:
Customize the layout and navigate to “Broadcast settings.” Choose your desired Bitrate and Resolution for streaming.
Step 4:
Streamlabs recommends starting with a 4500kbps bitrate for streaming. It also has a Dynamic Bitrate feature that adjusts bitrate to prevent frame loss during streaming.
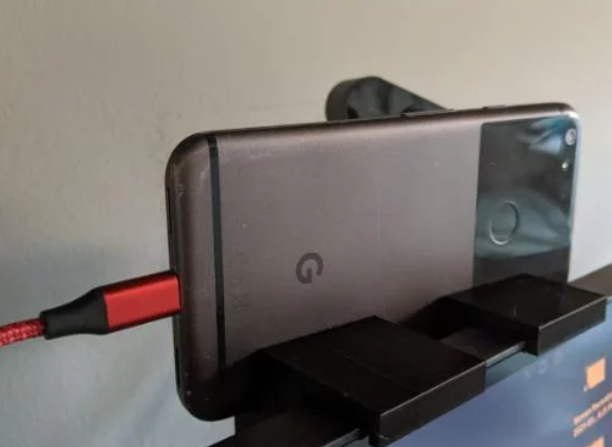
Step 5:
Turn on your Nintendo Switch and place your mobile phone on a mount or tripod. Finally, hit the Red button in the Streamlabs app to start streaming your gameplay.
The End
Congratulations! You have now unlocked the most complete solution for connecting Nintendo Switch to a PC.
Whether you’re eager to enjoy your Switch games on a spacious display or want to explore the world of streaming, we’ve got simple and effective ways to bridge the gap between console and computer.
So, players. It’s time to ignite your gaming passion and explore the game’s vast world with a larger screen!